


So Easy Your Grandma Could Do It
PeddiNews: Issue 67
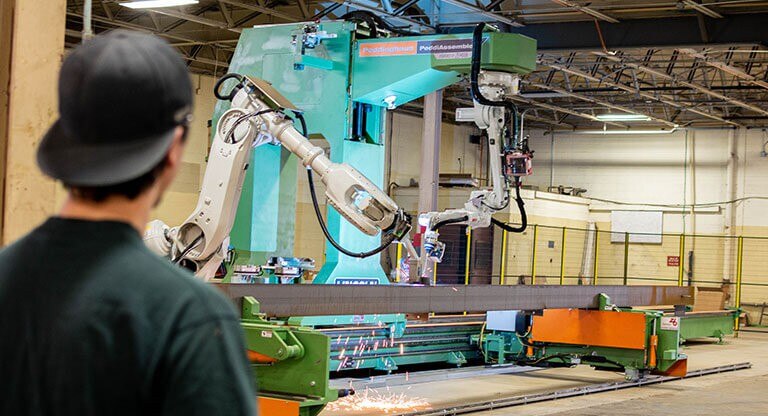
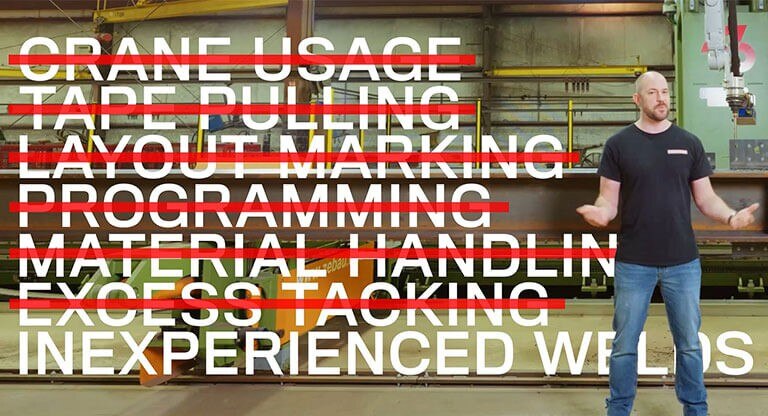
Robotic welding technology is all the craze in today’s steel construction realm, but just the mention of the word “robot” often comes with some level of intimidation and hesitancy from shop employees. The key to increasing confidence around new technology is software designed to be so user-friendly that even the most inexperienced operators can learn how to run a robot all in a day's work.
The PeddiAssembler robotic welding machine, outfitted with ProFit software, was developed to make the steel fabrication process as efficient and easy as possible. With its simple user interface, automation of complex processes and features to optimize workflow, ProFit makes it possible for anyone to produce high quality steel assemblies in just 8 easy steps:
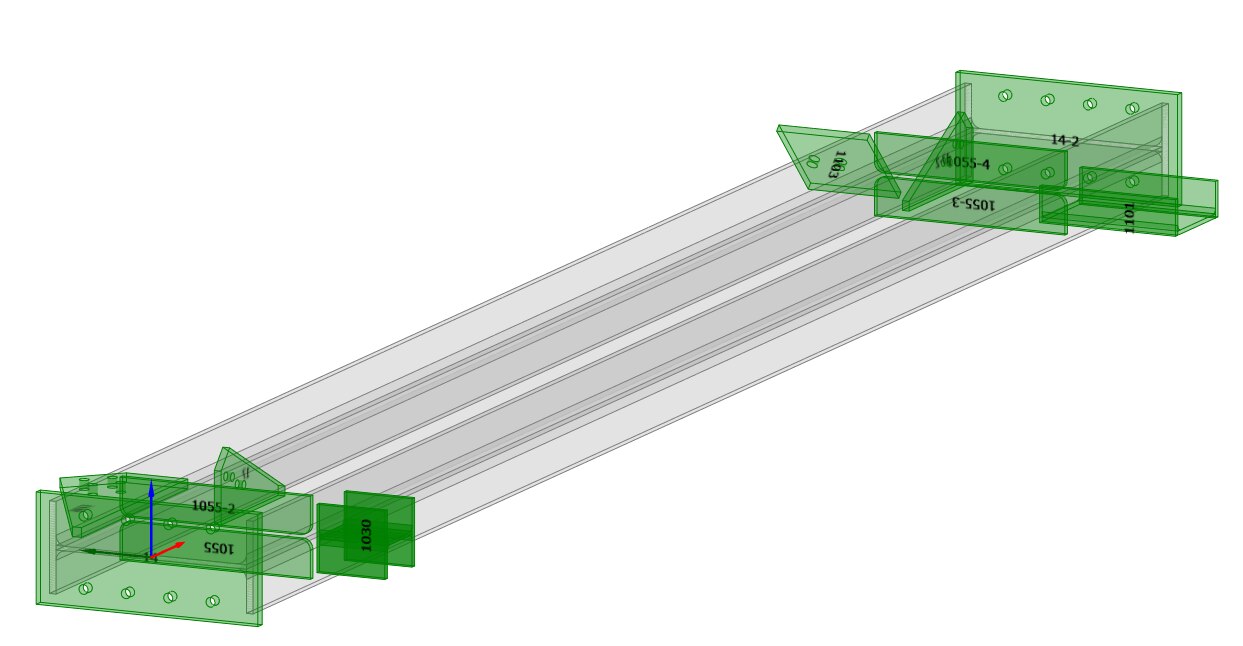
1. Upload and Import Drawing
Load any CAD file from your computer and click “Import”. Your beam will be instantly displayed on the screen.
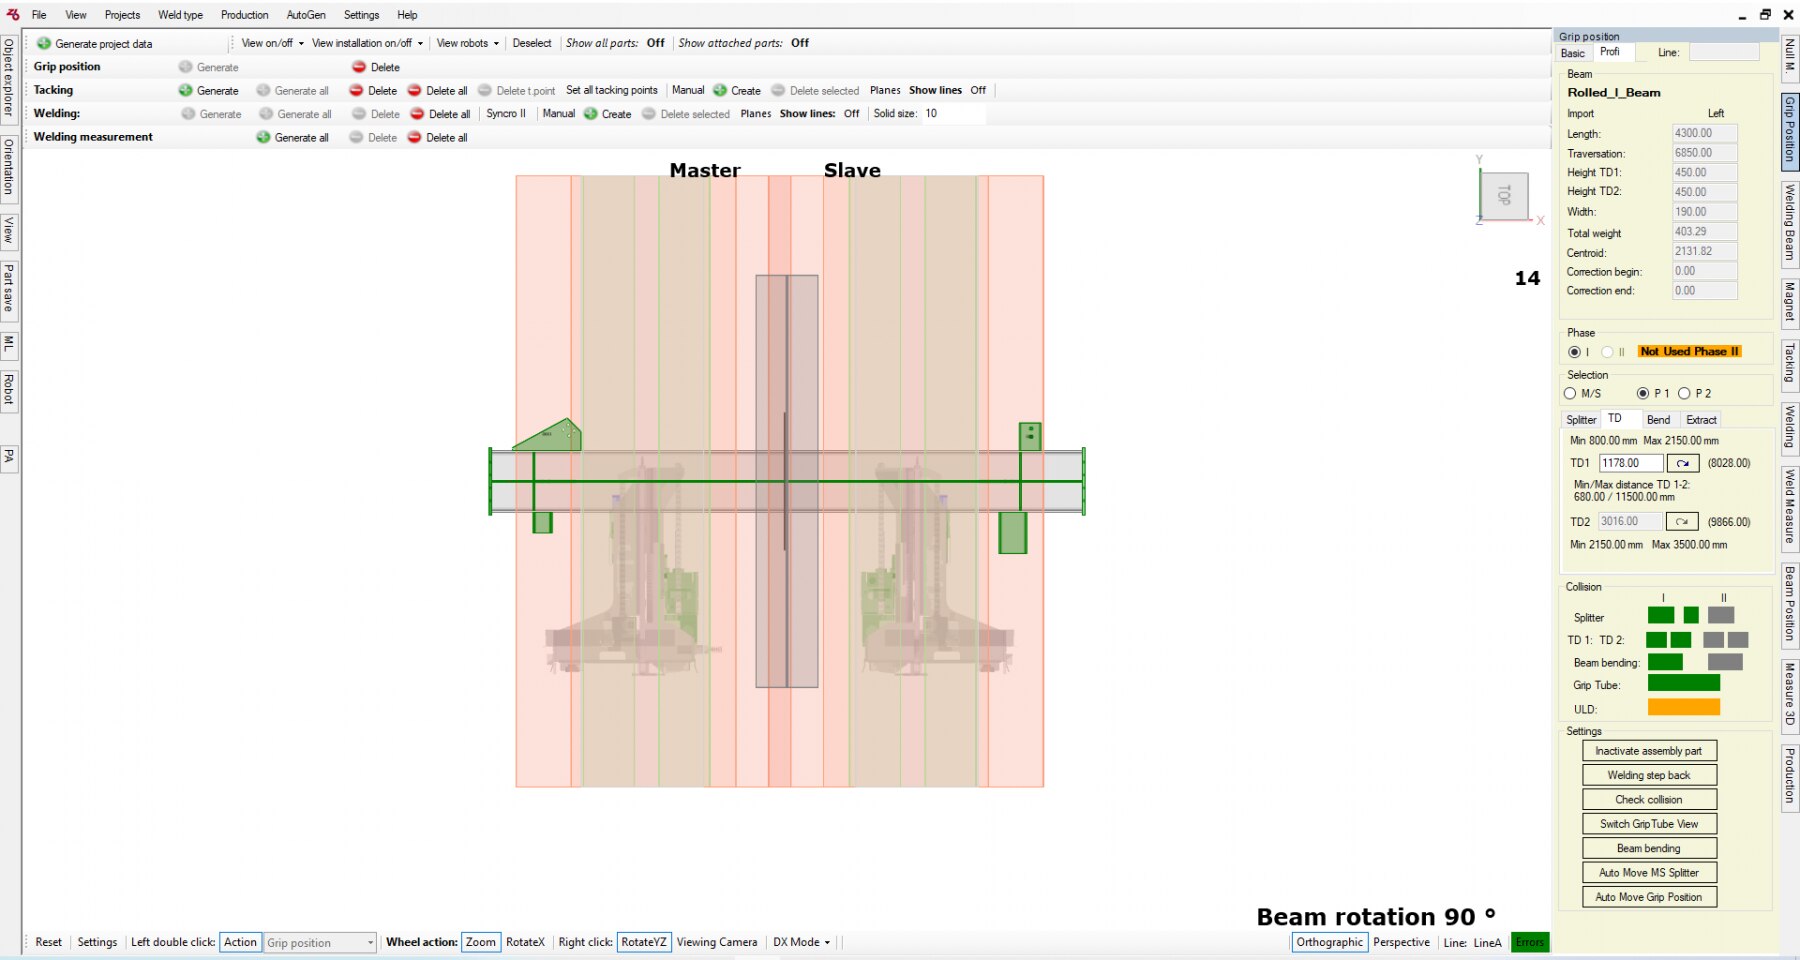
2. Define Grip Positions
Integrated profile turning devices on the PeddiAssembler rotate the beam automatically for welding on all sides of the material, you just have to tell them where to go. Simply click, drag and drop each turning device to place them where you want on the beam. If there is any risk of collision with add parts, the selected device will turn red. Adjust the device until it turns green and is no longer at risk of collision.
3. Create the Magnets
The handling robot on the PeddiAssembler has the ability to place parts of all different shapes and sizes up to 440 lbs (200 kg). Depending on the size of the parts, the magnet will automatically adjust itself to accommodate the weight. View exactly how the magnet will handle each part, and adjust the settings as you wish.

4. Set Tacking Points
To program each tacking point automatically, all you have to do is click “Set all tacking points”. The software will suggest an ideal location for each tack. Tacking points can be manually adjusted, deleted, moved or resized if necessary.
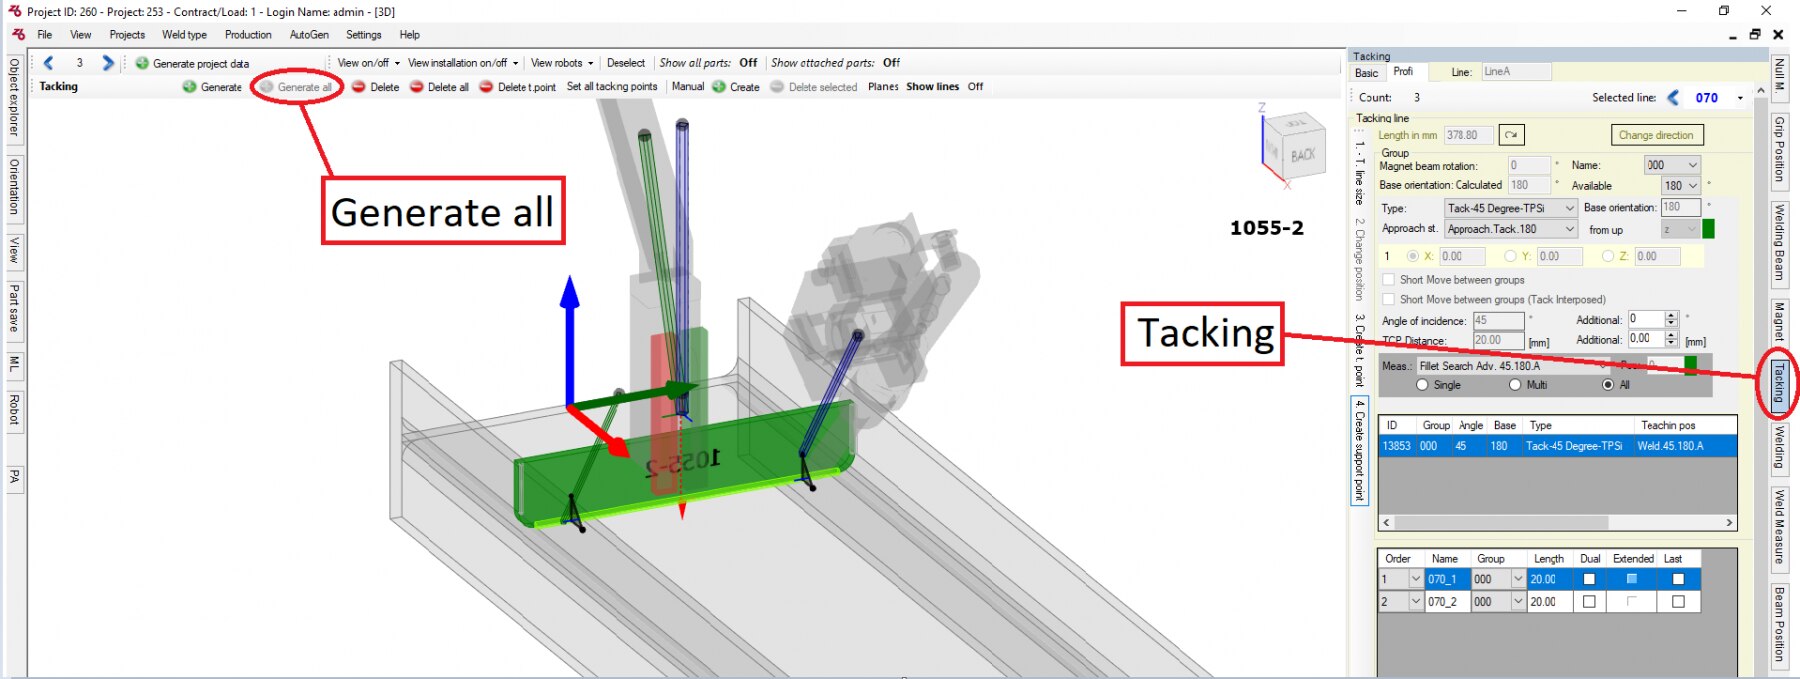
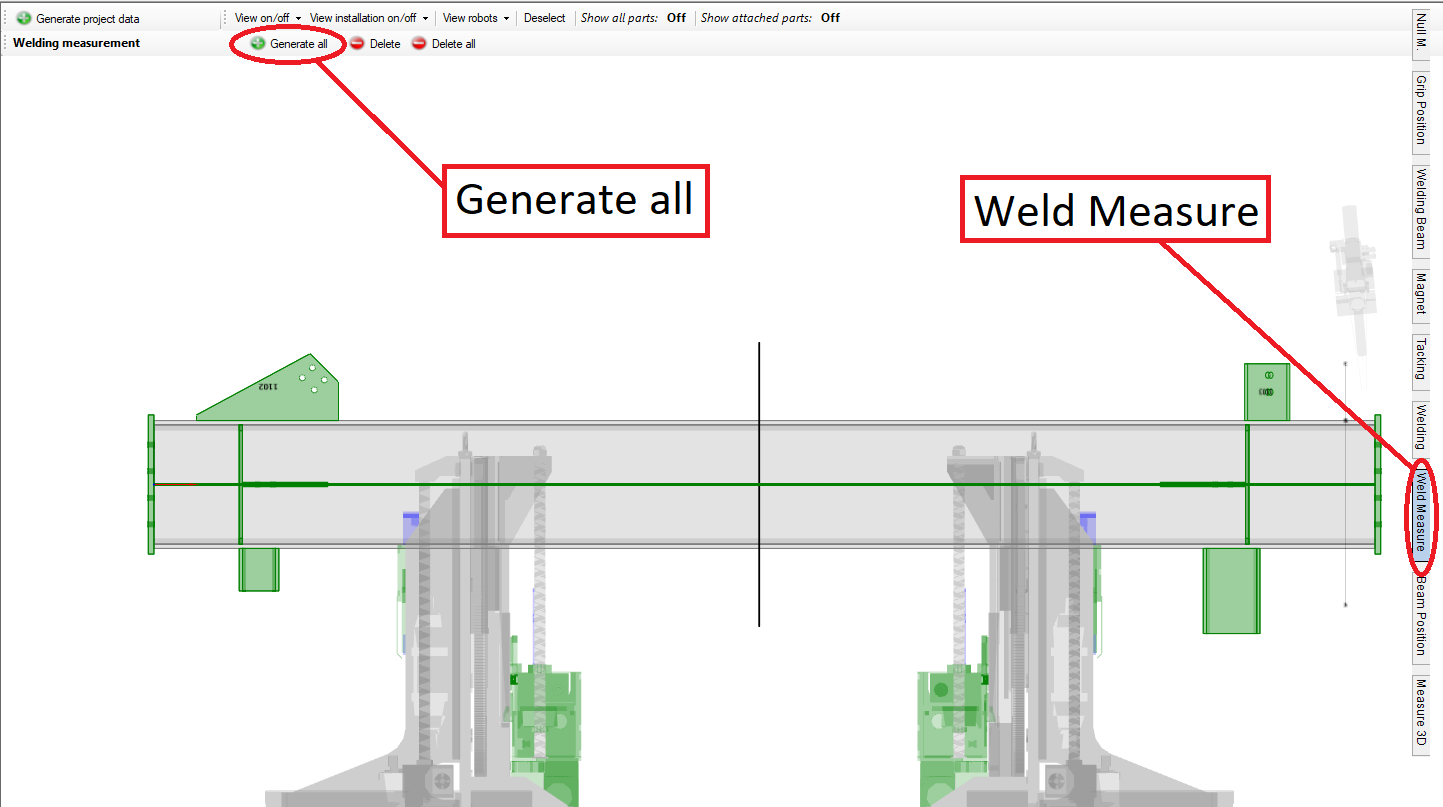
5. Set Welds
To program each weld automatically, all you have to do is click “Generate all”. The software will suggest an ideal location for each weld, which can be manually adjusted, if necessary.
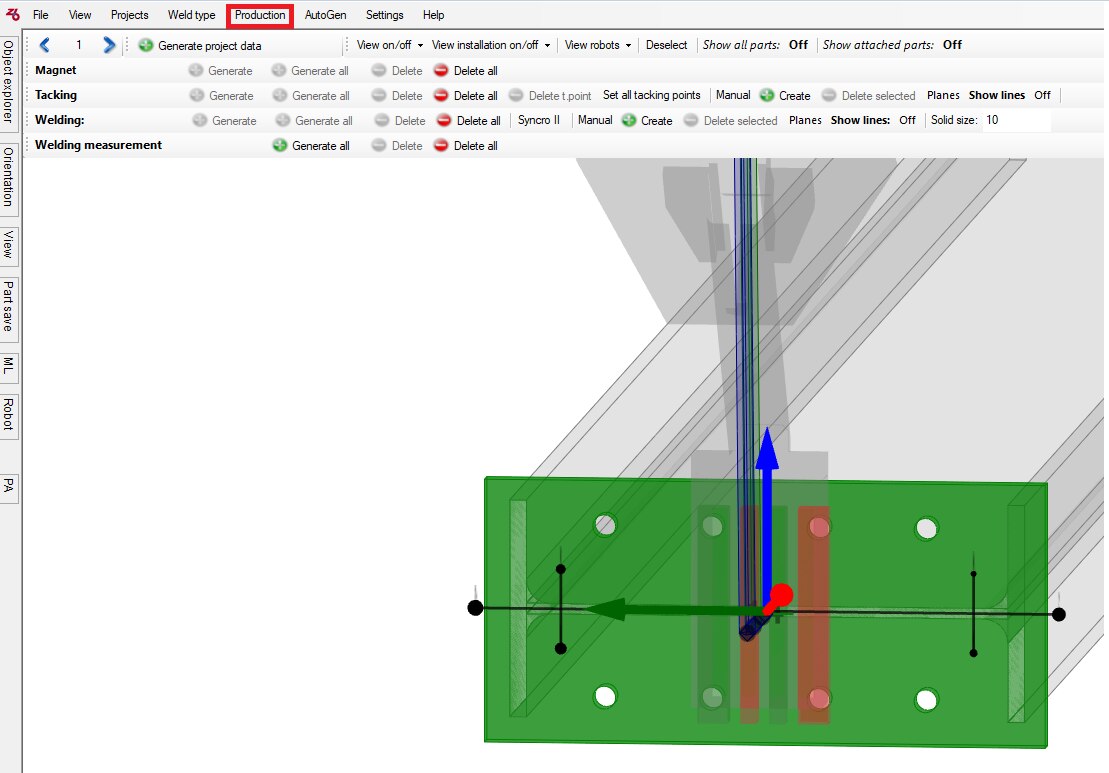
6. Test Run
By clicking “Generate all” after all adjustments have been made, ProFit will read the program and detect any potential collisions or errors. If there is any risk of collision or error, an orange warning message will appear. If there are no risks, all fields will turn green.
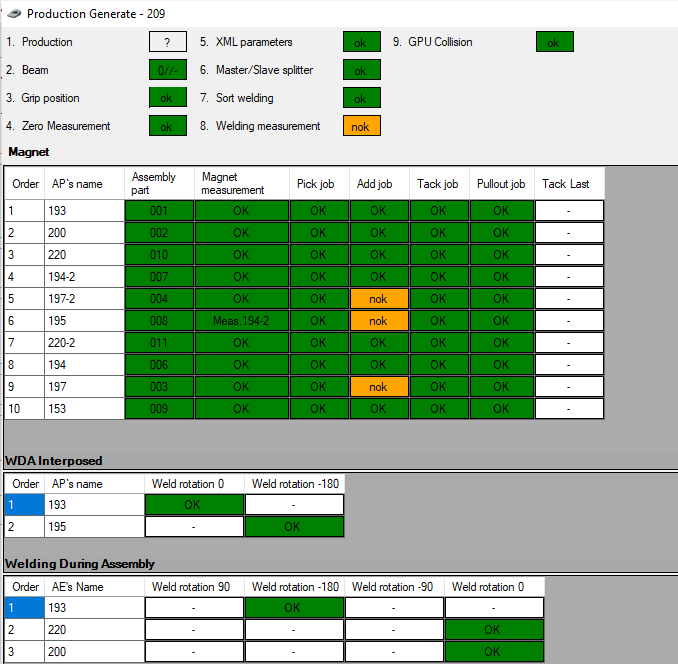
7. Review Warnings and Correct Errors
You’ll want to click on each individual error message to display a visual of the detected risk. Assess and adjust each warning message until it turns green and is no longer at risk of collision.
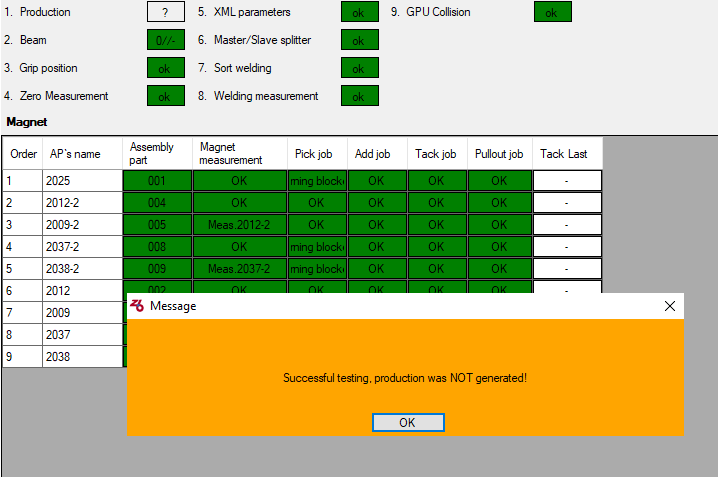
8. Go Time
Once all errors have been corrected, the program is ready for production!


Enter Today for a Chance to Win FREE Machinery
Gift cards and other Peddinghaus merchandise included
46331 mobile
TO
46331
WINNER
Normal text message rates apply. Text “STOP” to opt out. Text “HELP” for help. Up to 3 msgs / month. Terms https://www.peddinghaus.com/terms/1